Replace your drum heads regularly to maintain optimal sound quality, responsiveness, and durability, ensuring clear tones and minimizing the risk of unwanted overtones or damage to your drum kit.
Upgrade Your Drumming Game: Mastering the Art of Drum Head Replacement in 5 Steps
Drum heads play a crucial role in producing quality sound. They are the surface that is struck by the drumsticks or mallets, and they greatly impact the tone, resonance, and overall sound of the drums. Over time, drum heads can wear out, lose their responsiveness, and even develop dents or tears.
This is why regular drum head replacement is essential for maintaining the best sound quality and performance from your drums. Let’s jump in:
| Step | Description |
|---|---|
| 1. Gather Tools | Get a drum key, new drum head, and a clean cloth. |
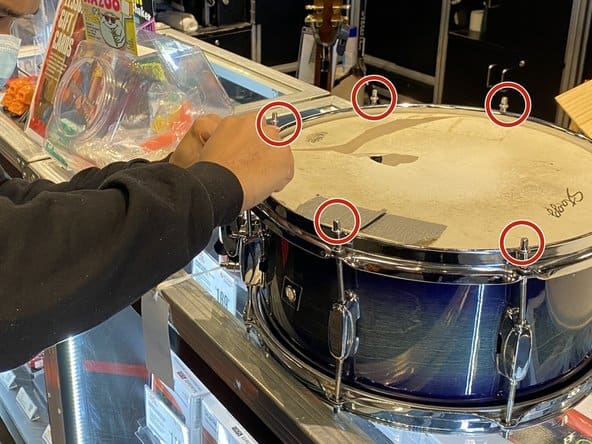
| 2. Loosen Tension Rods | Use the drum key to loosen each tension rod gradually in a star pattern to avoid warping the drum hoop. |
| 3. Remove Old Drum Head | Take off the tension rods and hoop, then remove the old drum head. |
| 4. Clean the Bearing Edge | Wipe the drum’s bearing edge with a clean cloth to remove dust and debris. |
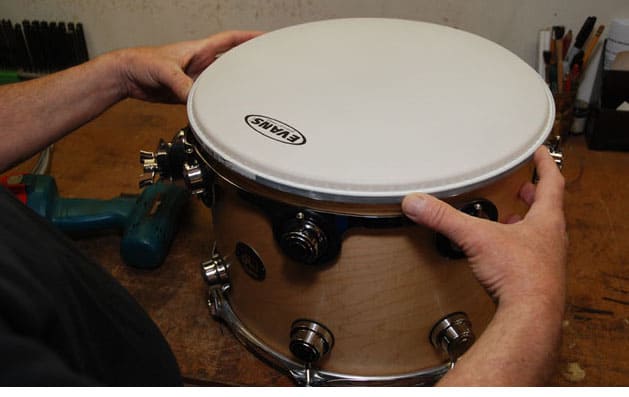
| 5. Seat the New Drum Head | Place the new drum head on the drum shell, ensuring it’s centered properly. |
| 6. Reattach the Hoop & Tension Rods | Put the hoop back and start threading the tension rods by hand, turning them evenly. |
| 7. Tune the Drum | Use the drum key to tighten the rods in a star pattern—slowly and evenly to ensure balanced tension. |
| 8. Check the Sound | Lightly tap near each tension rod and adjust until the drum produces an even tone all around. |
| 9. Fine-Tune | Play the drum and make minor adjustments to get your desired pitch and resonance. |
| 10. Break It In | Press lightly in the center of the new drum head to help it settle, then retune as needed. |
Step 1: Choosing the Right Drum Heads for Your Kit
When it comes to choosing drum heads, there are several factors to consider. The type of music you play, your playing style, and the sound you want to achieve all play a role in determining the right drum heads for your kit.
There are different types of drum heads available, each with its own unique characteristics. Coated drum heads have a textured surface that produces a warmer and more focused sound. Clear drum heads have a brighter and more open sound. There are also specialty drum heads like those made from animal skin or synthetic materials, which offer different tonal qualities.
Step 2: Removing the Old Drum Heads
Before you can install new drum heads, you need to remove the old ones. To do this, you will need a few tools such as a drum key and a flathead screwdriver. Start by loosening the tension rods around the drum head using the drum key. Once all the tension rods are loose, use the flathead screwdriver to gently pry off the old drum head from the rim.
It’s important to use proper technique when removing drum heads to avoid damaging the drum shell or any other components of your kit. Take your time and be gentle when prying off the old drum head to ensure a smooth removal process.
Step 3: Prepping the Drum Shell for New Heads
After removing the old drum heads, it’s important to clean the drum shell before installing the new ones. Use a soft cloth or a drum shell cleaner to remove any dirt, dust, or residue from the drum shell. This will ensure a clean surface for the new drum heads to adhere to.
While cleaning the drum shell, it’s also a good idea to inspect the bearing edges. These are the edges of the drum shell where the drum head makes contact. Make sure they are smooth and free from any dents or imperfections that could affect the sound quality.
Step 4: Installing the New Drum Heads
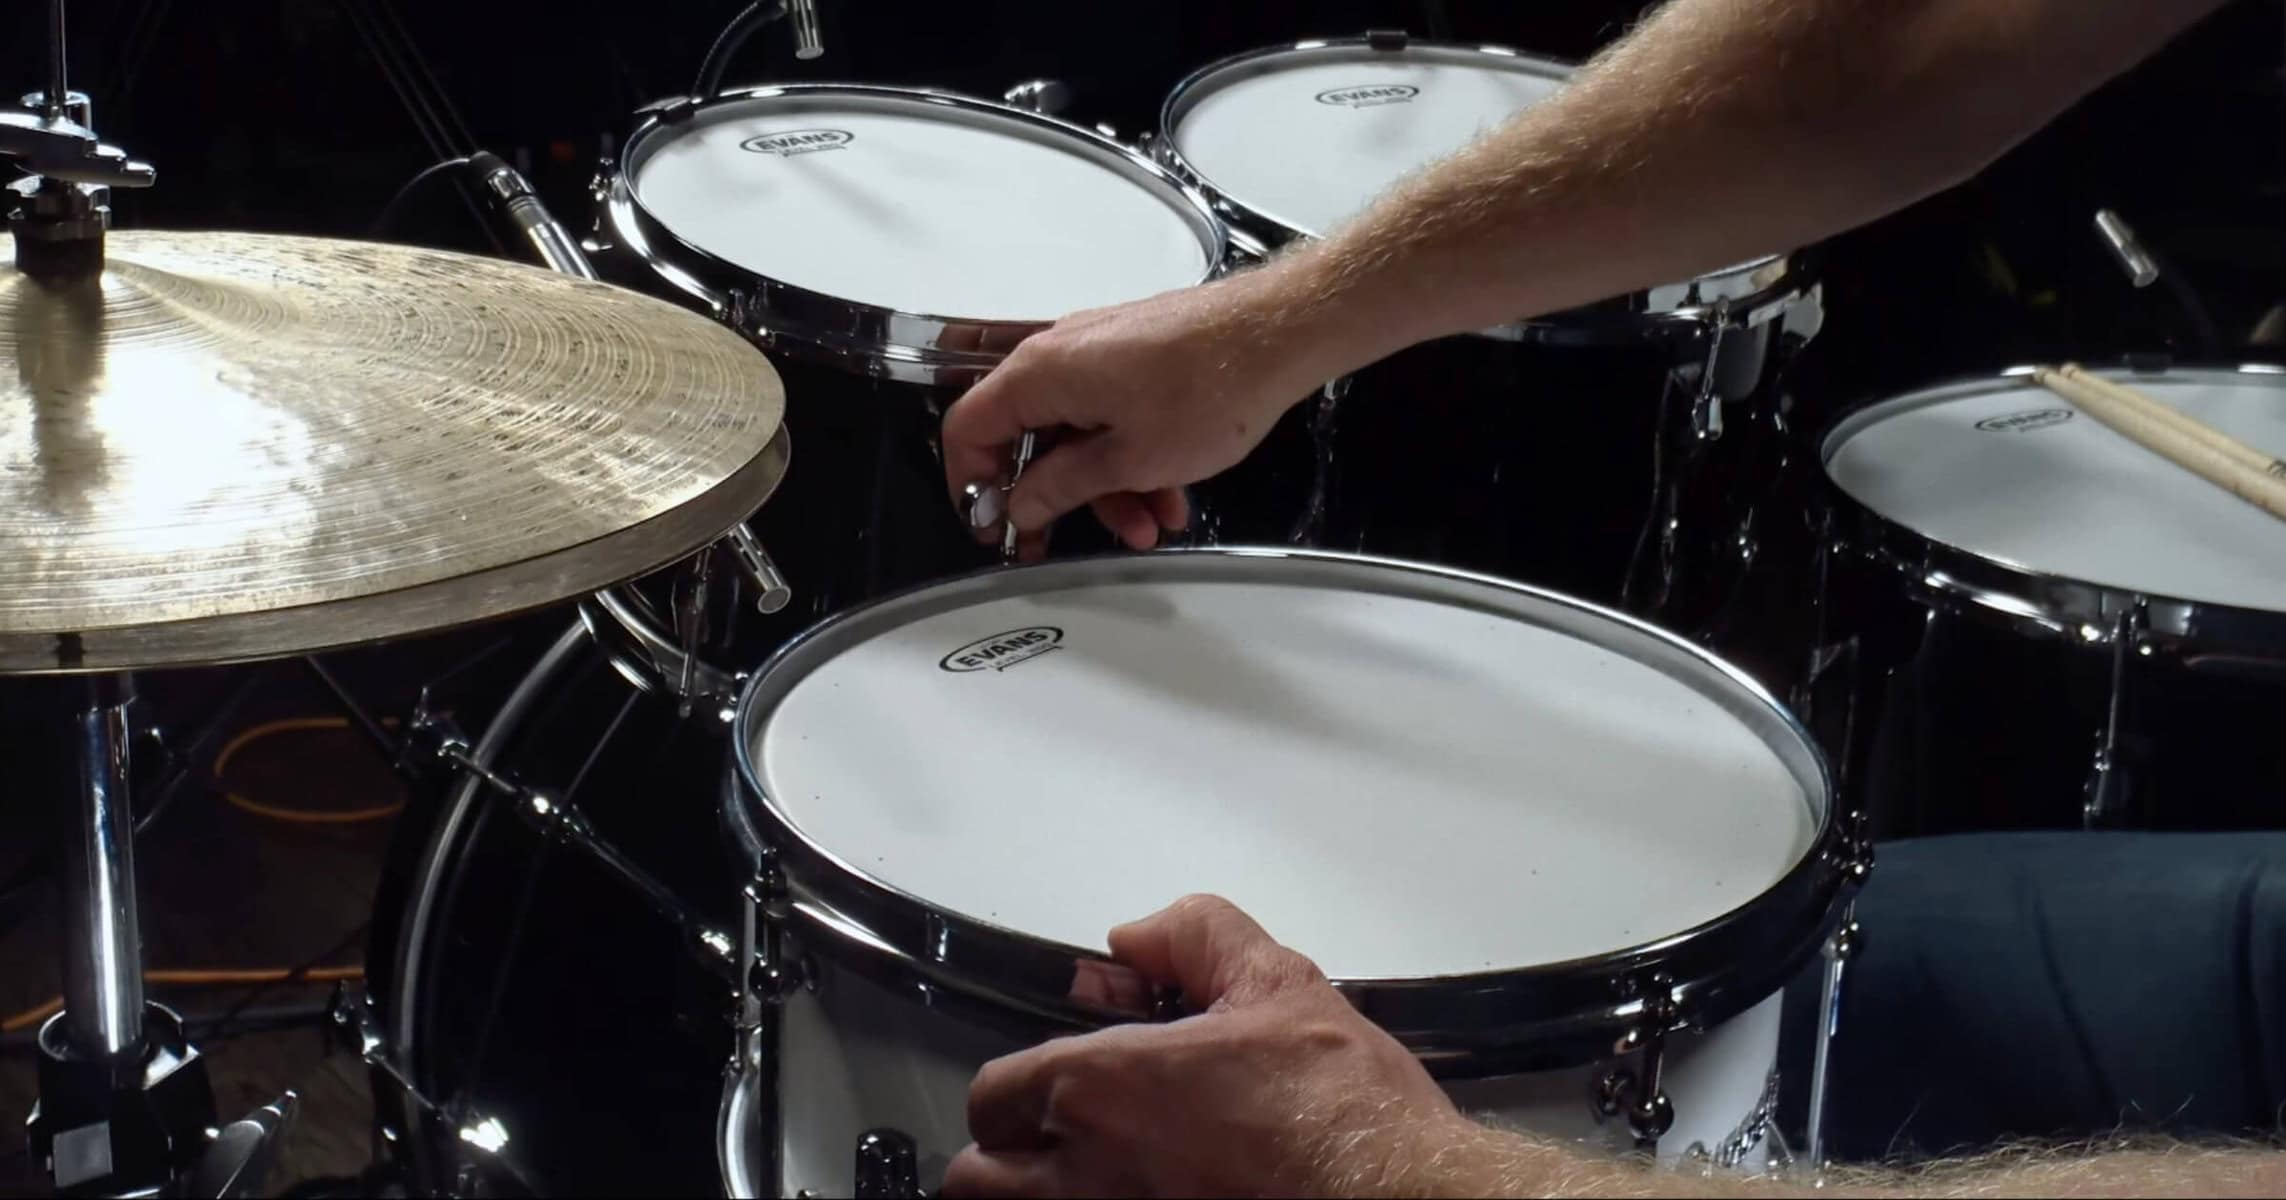
Once the drum shell is clean and the bearing edges are inspected, it’s time to install the new drum heads. Start by placing the drum head on the drum shell, making sure it is centered and aligned properly. Then, begin tightening the tension rods using your drum key.
It’s important to use proper technique when tightening the tension rods to ensure an even and balanced tension across the drum head. Start by tightening each rod in a star pattern, moving from one side of the drum to the other. This will help prevent any wrinkles or air bubbles from forming in the drum head.
Step 5: Tuning Your Drums for Optimal Sound
After installing the new drum heads, it’s crucial to tune your drums for optimal sound quality. Tuning involves adjusting the tension of each tension rod to achieve a balanced and harmonious sound across all drums in your kit.
There are several techniques for tuning drums, including using a drum tuner or tuning by ear. Whichever method you choose, make sure to take your time and listen carefully to each drum as you make adjustments. The goal is to achieve a clear and resonant tone that suits your playing style and musical preferences.
Tips for Extending the Life of Your Drum Heads
To extend the life of your drum heads and maintain their optimal performance, proper maintenance is key. Here are some tips to help you keep your drum heads in top shape:
1. Use proper drumstick technique: Avoid hitting the drum heads too hard or at an angle, as this can cause unnecessary wear and tear.
2. Keep your drums clean: Regularly clean your drum heads with a soft cloth to remove any dirt or debris that can affect their performance.
3. Store your drums properly: When not in use, store your drums in a cool and dry place to prevent damage from humidity or extreme temperatures.
4. Avoid excessive heat or cold: Extreme temperatures can cause the drum heads to expand or contract, leading to damage or loss of tension.
Common Mistakes to Avoid During Drum Head Replacement
While replacing drum heads may seem like a straightforward process, there are some common mistakes that drummers make. Here are a few to avoid:
1. Over-tightening the tension rods: Tightening the tension rods too much can cause the drum heads to warp or even break. It’s important to find the right balance of tension for optimal sound quality.
2. Not cleaning the drum shell: Neglecting to clean the drum shell before installing new drum heads can lead to poor adhesion and affect the overall sound quality.
3. Rushing the tuning process: Taking your time and carefully tuning each drum is crucial for achieving the best sound quality. Rushing through the tuning process can result in uneven tension and an unbalanced sound.
How Often Should You Replace Your Drum Heads?
The frequency at which you should replace your drum heads depends on several factors, including how often you play, your playing style, and the type of music you play. As a general rule of thumb, it’s recommended to replace drum heads every six months to a year for regular players.
However, there are some signs that indicate it’s time to replace your drum heads sooner. These include visible signs of wear and tear, such as dents, tears, or wrinkles in the drum heads. Additionally, if you notice a significant decrease in sound quality or responsiveness, it may be time to replace your drum heads.
Understanding the Different Types of Drum Heads Available
There are several different types of drum heads available, each with its own unique characteristics and tonal qualities. Here are some of the most common types:
1. Coated drum heads: These drum heads have a textured surface that produces a warmer and more focused sound. They are often preferred for jazz, blues, and rock music.
2. Clear drum heads: Clear drum heads have a brighter and more open sound. They are versatile and can be used for a wide range of musical styles.
3. Specialty drum heads: There are also specialty drum heads made from animal skin or synthetic materials. These offer different tonal qualities and are often used in specific genres or for specific playing styles.
When choosing drum heads, it’s important to consider the type of music you play and the sound you want to achieve. Experimenting with different types of drum heads can help you find the perfect match for your playing style.
Taking Your Drumming Skills to the Next Level with Proper Drum Head Replacement Techniques
Proper drum head replacement is essential for maintaining the best sound quality and performance from your drums. By following the steps outlined in this article, you can ensure that your drum heads are always in top shape and ready to deliver the best sound possible.
Remember to choose the right drum heads for your kit, remove the old ones properly, prep the drum shell, install the new drum heads correctly, and tune your drums for optimal sound quality. By taking care of your drum heads and avoiding common mistakes, you can extend their lifespan and improve your overall drumming skills.
So don’t neglect your drum heads – give them the attention they deserve and take your drumming skills to the next level!
Originally posted 2024-02-29 06:58:16.