When it comes to achieving the perfect sound from your snare drum, tuning is key. Whether you’re a beginner or a seasoned drummer, knowing how to tune your snare drum can make a world of difference in the quality of your sound. In this guide, I will walk you through the process of how to tune snare drums step by step, covering everything from choosing the right snare drum to making final adjustments and testing the sound.
Choosing the right snare drum
 Before you can start tuning your snare drum, it’s important to ensure that you have the right drum for your needs. There are a few key factors to consider when choosing a snare drum, including the material and the size and depth of the drum.
Understanding different snare drum materials
Snare drums come in a variety of materials, each of which produces a unique sound. Common materials include wood, metal, and acrylic. Wood snare drums tend to produce warm, rich tones, while metal snare drums offer a brighter, more cutting sound. Acrylic snare drums are known for their loud, punchy sound. When choosing a snare drum, consider the type of music you’ll be playing and the sound you want to achieve.
Considering the size and depth of the snare drum
The size and depth of a snare drum can also impact its sound. Deeper drums tend to produce a fuller, more resonant sound, while shallower drums offer a more focused, crisp sound. Consider the style of music you’ll be playing and the sound you want to achieve when choosing the size and depth of your snare drum.
Tuning the snare drum head

Once you have the right snare drum, it’s time to start tuning. The first step in tuning a snare drum is to adjust the tension of the drum head.
Loosening the tension rods
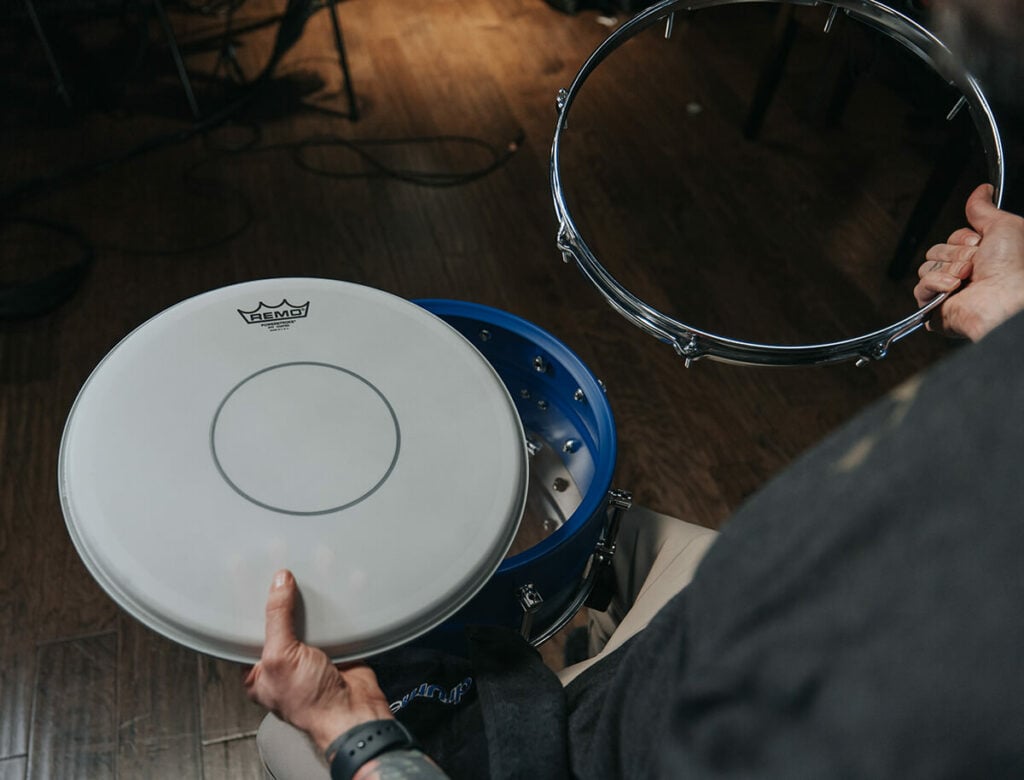
To begin, I like to start by loosening all of the tension rods around the drum head. This allows me to start from a clean slate and ensures that the tension is even across the entire head.
Tightening the tension rods
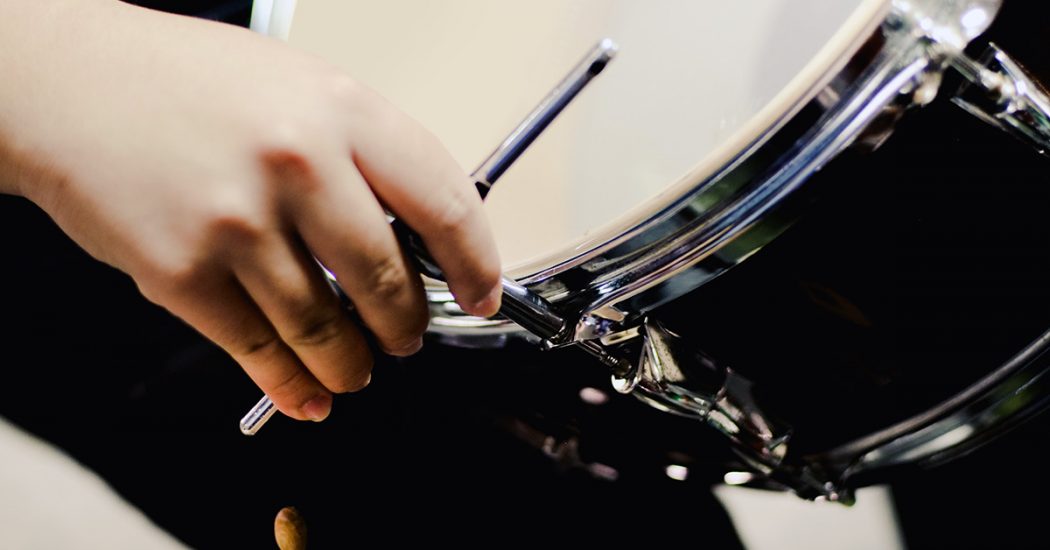
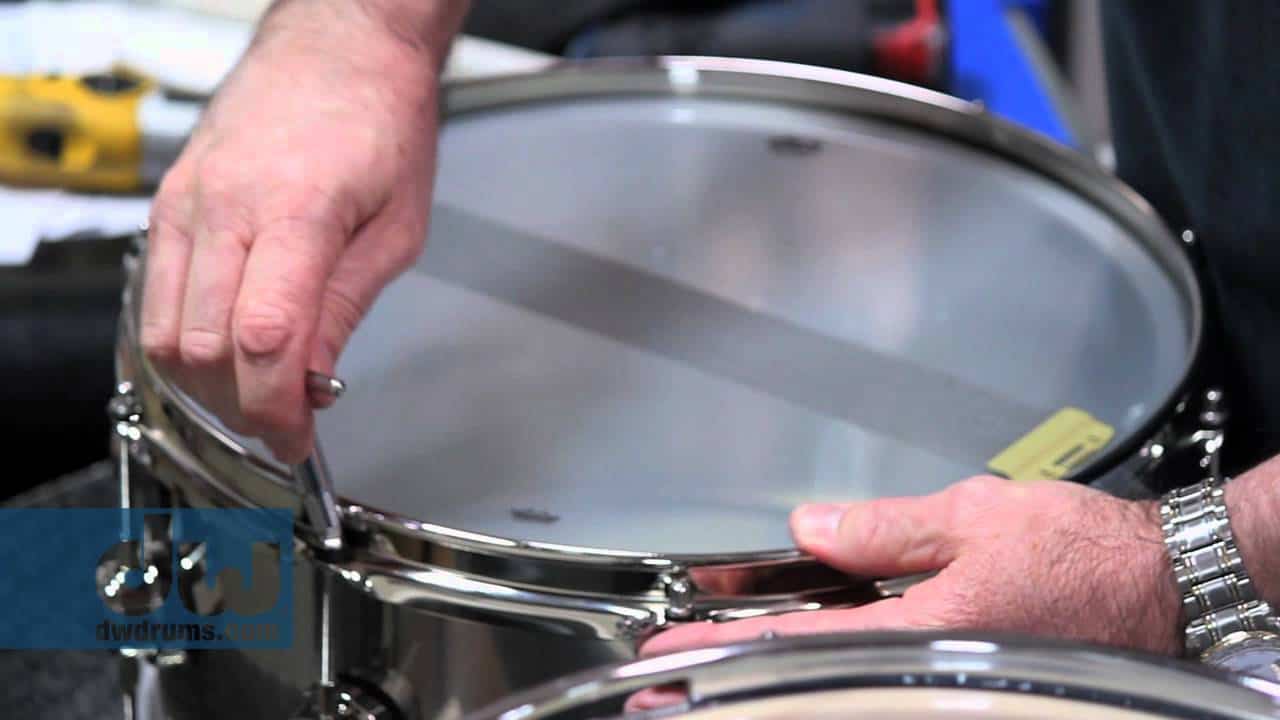
Next, I gradually tighten each tension rod in a crisscross pattern, making small adjustments to each rod until the head feels evenly tensioned. I like to use a drum key to make these adjustments, as it allows for precise tuning.
Checking the pitch and tone
Once the tension rods are tightened, I tap the drum head near each tension rod to check the pitch and tone. I make further adjustments as needed to achieve the desired sound.
Adjusting the snare wires
 In addition to tuning the drum head, it’s important to ensure that the snare wires are properly adjusted.
Ensuring proper alignment and tension
I start by checking that the snare wires are aligned evenly across the bottom head of the drum. I then adjust the tension of the snare wires using the strainer and butt plate to achieve a crisp, responsive snare sound.
Testing the snare response
After making adjustments to the snare wires, I test the snare response by playing the drum at different dynamics. I listen for a consistent, sensitive snare response and make further adjustments as needed.
Final adjustments and testing
 Once the drum head and snare wires are tuned, I make final adjustments to ensure that the snare drum sounds its best in different playing scenarios.
Fine-tuning the overall sound
I make small adjustments to the tension rods and snare wires as needed to fine-tune the overall sound of the snare drum. This may involve experimenting with different tensions and pitches to achieve the perfect sound for the music I’ll be playing.
Testing the snare drum in different playing scenarios
Finally, I test the snare drum in different playing scenarios, such as quiet passages and loud, aggressive sections. This allows me to ensure that the snare drum sounds great across a range of dynamics and playing styles.
In conclusion, tuning a snare drum is a crucial step in achieving the perfect sound for your music. By choosing the right snare drum, tuning the drum head, adjusting the snare wires, and making final adjustments, you can ensure that your snare drum sounds its best in any playing scenario. With practice and patience, you can master the art of tuning your snare drum and take your drumming to the next level.
FAQs on how to tune snare drums
-
What is the best way to tune a snare drum?
For a 6.5″ snare drum, the pitches G – Bb are what you should listen for (Ab – B for a 5″ drum). Using your drum key, tighten each tension rod ONE EVEN HALF TURN always working in opposites across the drum until you come near the pitch. Use a piano or keyboard percussion instrument to help find your pitch.
-
How do you calibrate a snare drum?
Using a stick, test the drum 1″ inch away from each rod. Hit the snare right in front of each rod. More likely than not, the sound is a little different at each one. Use your drum key to tune the rods so that they all sound the same when hit. Tightening the rod will make it sound higher pitched.
-
How many turns does it take to tune a snare drum?
Somewhere in the neighborhood of two full turns on each lug should do it, but use your ears as this varies depending on the particular drum you are tuning and what heads you use. You’ll notice (by ear and feel) at a certain point the tension will start to even out.
-
How do you set a snare drum?
The height of your snare drum should be set a few inches above your leg and set so you can easily hit the drum with either of your hands without hitting the rim of your drum. Set up your drum so your snare throw-off, the lever that engages the snare, is on the left-hand side of your drum.
Originally posted 2023-11-14 02:52:49.

